
An uncomfortable helmet can turn any activity into a painful experience, leaving you with headaches, pressure points, and the urge to remove it as soon as possible. This guide is for motorcyclists who wear a helmet regularly but struggle with fit and comfort issues.
We'll show you how to identify what's making your helmet uncomfortable in the first place. You'll learn practical ways to upgrade your padding systems and make strategic adjustments that can transform even the most stubborn helmet into something you'll actually want to wear. We'll also cover how to tackle those annoying pressure points and adjust your visor positioning for maximum comfort during long wear sessions.
Assess Your Current Helmet Fit Issues
1. Identify Pressure Points and Hot Spots
Finding where your helmet creates discomfort is the first step toward real relief. Put on your helmet and wear it for about 15-20 minutes while doing normal activities. Pay attention to areas that start feeling tight, sore, or create a burning sensation. Common pressure points include the forehead area just above the eyebrows, the sides of your head near your temples, and the back where your skull curves.
Take note of any spots that feel like they're being pinched or where the helmet seems to dig in. These areas often develop into painful hot spots during longer wear periods. Some people experience pressure along their jawline or behind their ears, especially with helmets that have aggressive chin strap configurations.
Document these problem areas by marking them on a simple head diagram or taking photos. This visual reference helps when you're shopping for padding solutions or discussing fit issues with helmet specialists. Different helmet styles create unique pressure patterns, so your dual sport helmet might have completely different hot spots compared to your half face helmet.
2. Check for Proper Size Alignment
Most helmet discomfort stems from incorrect sizing rather than design flaws. Start by measuring your head circumference about one inch above your eyebrows using a flexible measuring tape. Compare this measurement to the manufacturer's size chart, but don't rely solely on it since sizing varies significantly between brands.
The helmet should sit level on your head, not tilted back like a hat or pushed down over your eyes. When positioned correctly, the front edge should rest about one inch above your eyebrows. If you're constantly adjusting the helmet's position or if it naturally slides to an uncomfortable angle, you likely have a size mismatch.
Check the helmet's shape compatibility with your head. Some people have round heads while others have more oval-shaped skulls. A round helmet on an oval head creates pressure points on the sides, while an oval helmet on a round head causes front and back pressure. Many manufacturers now specify whether their helmets work best for round, intermediate oval, or long oval head shapes.
3. Evaluate Padding Thickness and Distribution
Examine your helmet's internal padding system carefully. Quality helmets use different thickness pads in strategic locations to accommodate natural head contours.
Remove the padding if possible and inspect its condition. Compressed, flattened, or worn padding loses its cushioning ability and creates uncomfortable pressure points. Old foam padding often develops permanent indentations that no longer provide adequate protection or comfort.
Look for uneven padding distribution. Some helmets come with one-size-fits-all padding that doesn't account for individual head shapes. Areas with too little padding feel loose and allow the helmet to shift, while over-padded areas create uncomfortable pressure. The padding should create gentle, even contact across your entire head without any gaps or excessive compression.
Check if your helmet uses removable padding systems. Many modern helmets feature modular padding that allows you to swap different thicknesses or add extra cushioning where needed. This flexibility lets you customize the fit without replacing the entire helmet. However, the alteration to an existing padding would have to be done by your local tailor or a seat repairer who is skilled enough to get this job done.
4. Test Helmet Stability During Movement
A properly fitted helmet should feel secure without being uncomfortably tight. Shake your head vigorously from side to side and up and down. The helmet should move with your head as one unit rather than sliding around independently. If the helmet shifts position during normal head movements, it's either too large or the padding distribution needs adjustment.
Try the "roll-off test" by tilting your head forward and attempting to push the helmet off from the back. A correctly fitted helmet should resist this movement and stay firmly in place. If the helmet easily rolls forward or backward, you need better padding adjustment or a different size.
Test the chin strap tension while moving. The strap should be snug enough to prevent the helmet from lifting off your head but loose enough to allow comfortable jaw movement. During active use, check if the helmet bounces, shifts side to side, or creates pressure changes as you move.
Pay attention to how the visor area feels during head movements. If the visor mechanism puts pressure on your forehead or temples when you turn your head, this indicates alignment issues that need addressing through padding adjustments or strap reconfiguration.
Upgrade Internal Padding Systems
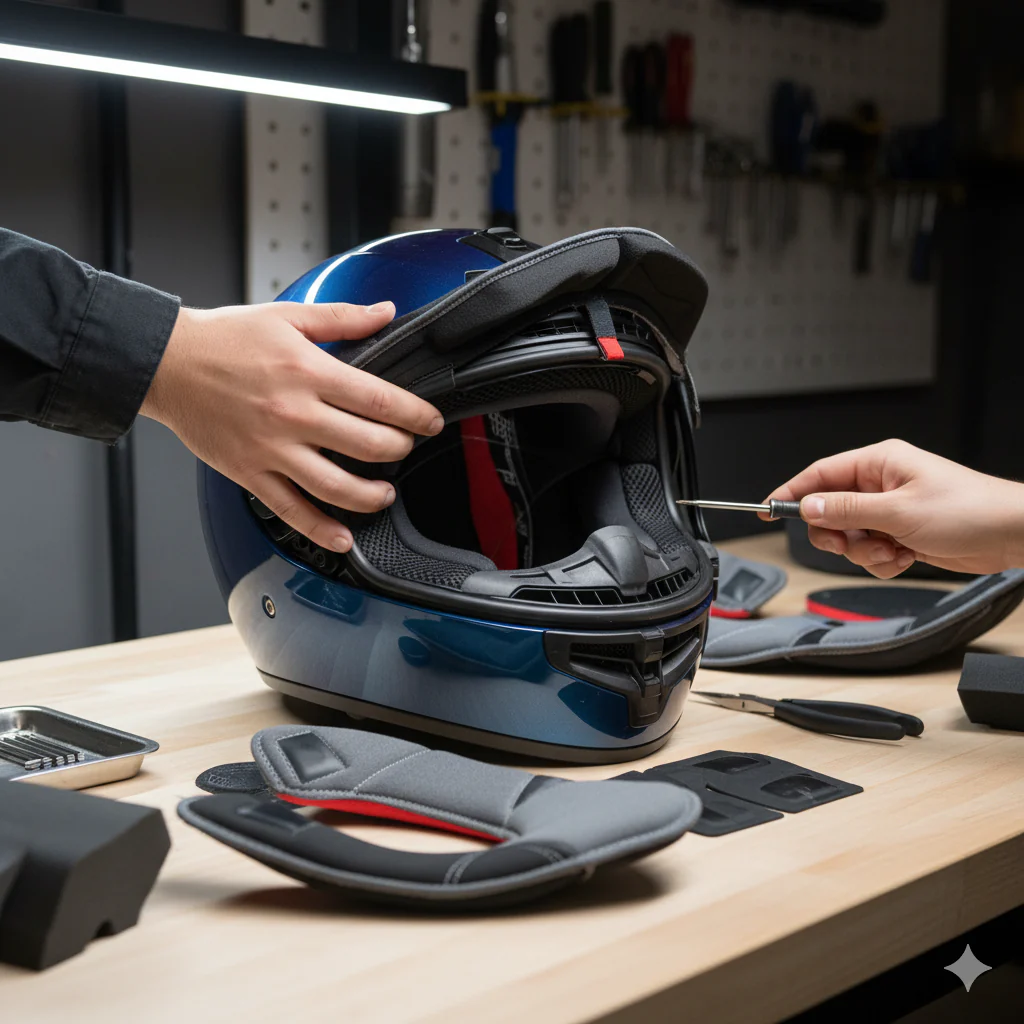
1. Replace worn-out foam with memory foam inserts
The original padding in your helmet has likely compressed over months or years of use, creating uncomfortable pressure points and hot spots. Memory foam inserts offer a game-changing upgrade that conforms to your head's unique contours while maintaining consistent support.
Start by carefully removing the existing padding system. Most helmets have removable foam pieces held in place by velcro strips or snap-in mechanisms. Take photos before removal to remember the original placement pattern. Clean the helmet's interior thoroughly with a damp cloth and mild soap, allowing it to dry completely before installing new padding.
When selecting memory foam inserts, choose high-density foam rated for safety applications. The foam should be between 10-15mm thick for optimal comfort without compromising the helmet's protective fit. Cut the memory foam to match your original padding shapes, but make them slightly larger to account for compression. This ensures complete coverage without gaps.
Install the memory foam pieces systematically, starting with the crown area and working your way down to the side panels. Press firmly to activate the adhesive backing or secure the velcro attachments. The foam will initially feel firmer than expected, but it will soften and mold to your head shape within the first few wearing sessions.
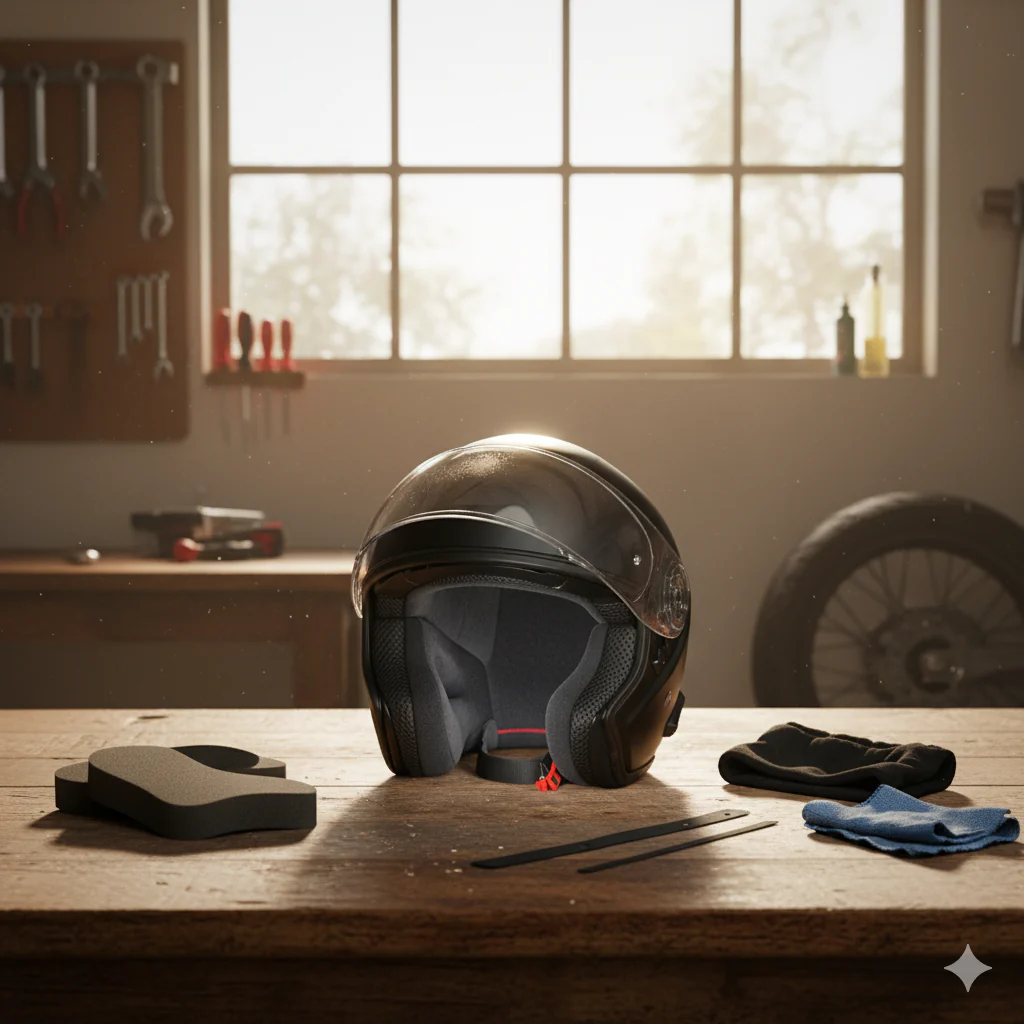
Memory foam provides superior pressure distribution compared to standard foam padding. Your head's warmth activates the material, causing it to soften and create a custom fit that reduces hot spots and eliminates painful pressure points that develop during extended wear.